To effectively manage roles and user access within your shop, the Members Settings feature provides a straightforward process. Here’s how you can invite members, manage their roles, and maintain control over your shop’s team.
Inviting a Member
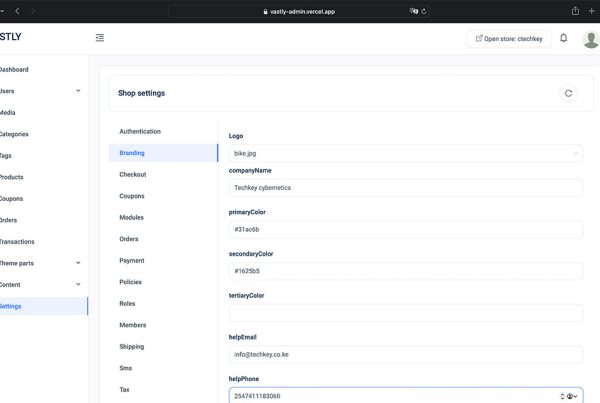
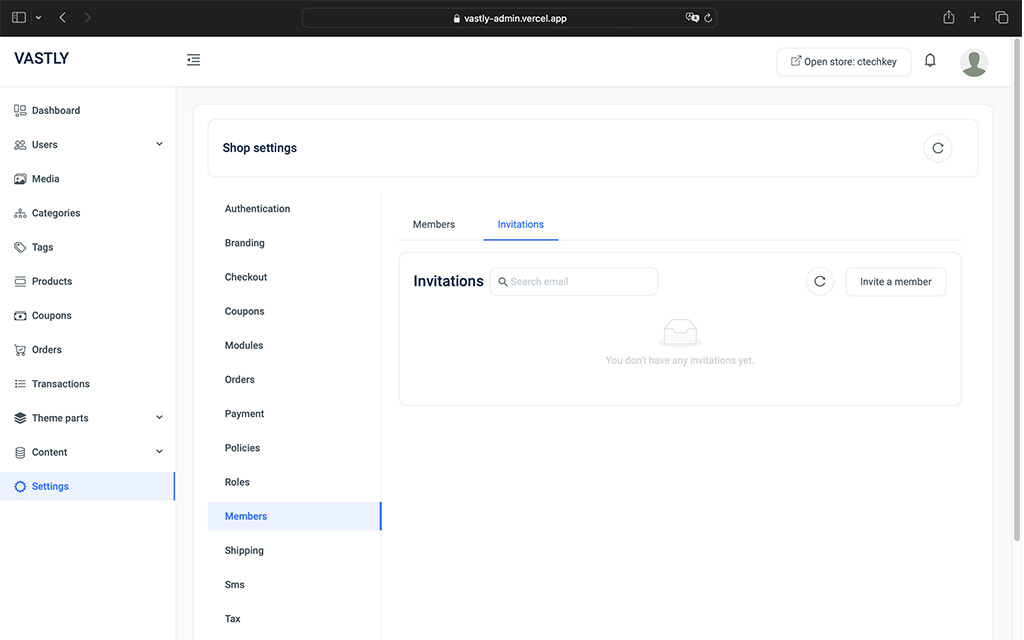
To invite a new member to your shop, start by navigating to the Members Settings. Here, you’ll find an Invitations tab that displays all pending invitations along with their current status.
- Send an Invitation: Click on Invite Member. A form will appear, allowing you to enter the user’s email and the role you’d like them to have within your shop. Ensure the email provided is the same as the one they’ll use to create or log into their Vastly account.
- Notification: Once you’ve sent the invitation, the user will receive an email with the invite details. They can then log in to their Vastly account, where they’ll see a pop-up notification allowing them to accept or decline the invitation.
- Manage Invitations: If needed, you can cancel an invitation anytime before it’s accepted by returning to the Invite tab and selecting the appropriate option.
Accepting an Invitation
When a user logs into their account, they’ll see a notification inviting them to join your shop. Upon accepting the invitation, they’ll be granted access to your shop with the role you assigned.
Managing Current Members
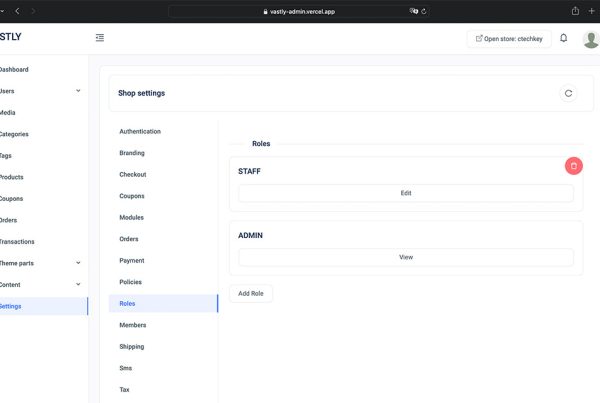
To view all members with access to your shop, go to the Members tab within the Members Settings. Here, you can see a list of all active members and their roles.
If necessary, you can change a members role or remove them from the shop at any time.