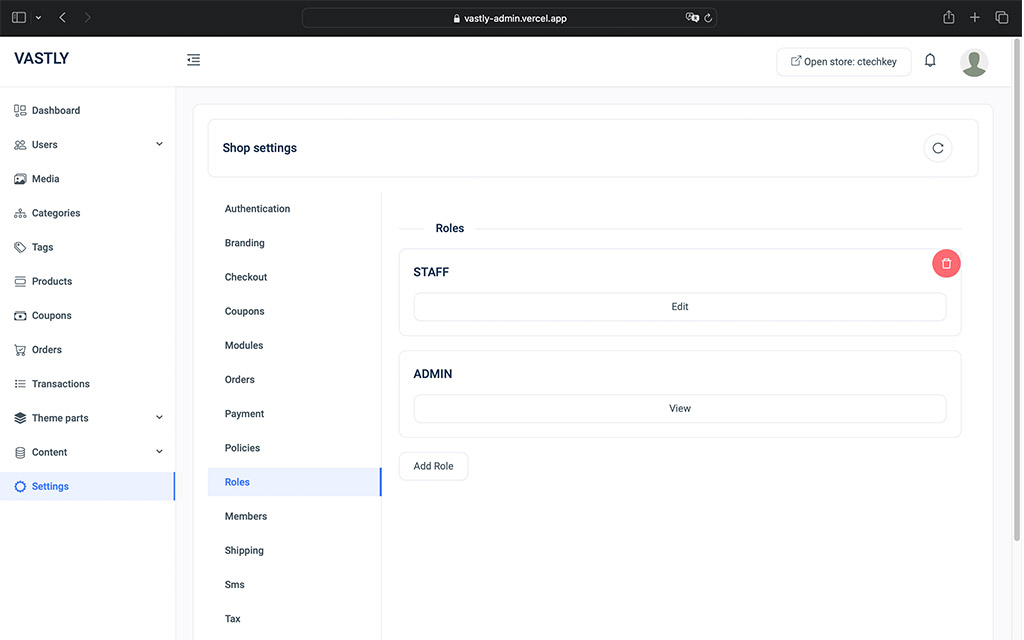
Roles in your shop determine the level of access granted to different members, such as your staff. Through the Roles Settings, you can create and manage roles to control who can do what within your shop.
Creating a New Role
To create a new role, click the Add Role button. You’ll be prompted to provide a role name and assign permissions across various actions using checkboxes. The available permissions follow the Read, Create, Update, Delete, Restore structure:
- Read: Allows the role to view resources.
- Create: Grants the role permission to create new resources.
- Update: Permits the role to modify existing resources.
- Delete: Allows the role to remove resources.
- Restore: Enables the role to recover resources that have been deleted and are in the trash.
For example, if you want your staff to only upload and view media, you would assign them Read and Create permissions for the media resource. This setup would prevent them from editing or deleting any media.
Flexible Role Management
You can create roles with no permissions initially and assign them later as needed. The flexibility allows you to tailor permissions according to the specific needs of each role.
Required Permissions
Certain permissions are fundamental for a role to function:
- Settings – Read: This permission allows a role to access and understand the core settings of your shop.
- Dashboard – Read: Grants the role the ability to view and interact with the shop’s dashboard.
All other permissions are optional and can be customized based on the role’s responsibilities.
Best Practices
Ensure that you only grant the necessary permissions to each role, limiting access to sensitive actions unless absolutely required.
Admin Role
The Admin role is unique. It’s the only role that cannot be edited or deleted, ensuring that there is always an overseer for your shop.